I just passed 8th Grade Home Economics
I believe we have an almost unlimited capacity for learning. Our only bounds are our desire to learn and our fear of the subject.
I've taught myself or sought to learn many a thing over the years. To crochet, to cook, to draw, paint, decorate cakes, even the ever elusive knitting. (Which I discovered after all this time that I really didn't enjoy doing it) I've taught myself how to use a computer and even in some instances how to fix my computer (and when I should get someone else to.)
I always want to know more and share more of what I know. So when Chloe was born and felt the urge to make her clothes, the feeling of "I can't sew! How'm I supposed to make her beautiful things?" was alien. Sure there are things I can't do, mostly because I don't really want to. (See MMA sports) Usually if I want to do something I just stubborn my way along until I fifgure it out.
And I did that...sorta. I'd try any tutorial on the internet that sounded interesting and run with it. Make up my own ideas? Absolutely. Buy a pattern and cut it out? Never...
Tonight I realised my major phobia with sewing started with a teacher. An awful teacher who always told me what I did wrong but never how to fix it. Who couldn't see past her prejudices to fairly and honestly do her job and left me to flounder. A teacher who failed me for being unable to complete a pair of elastic waist shorts.

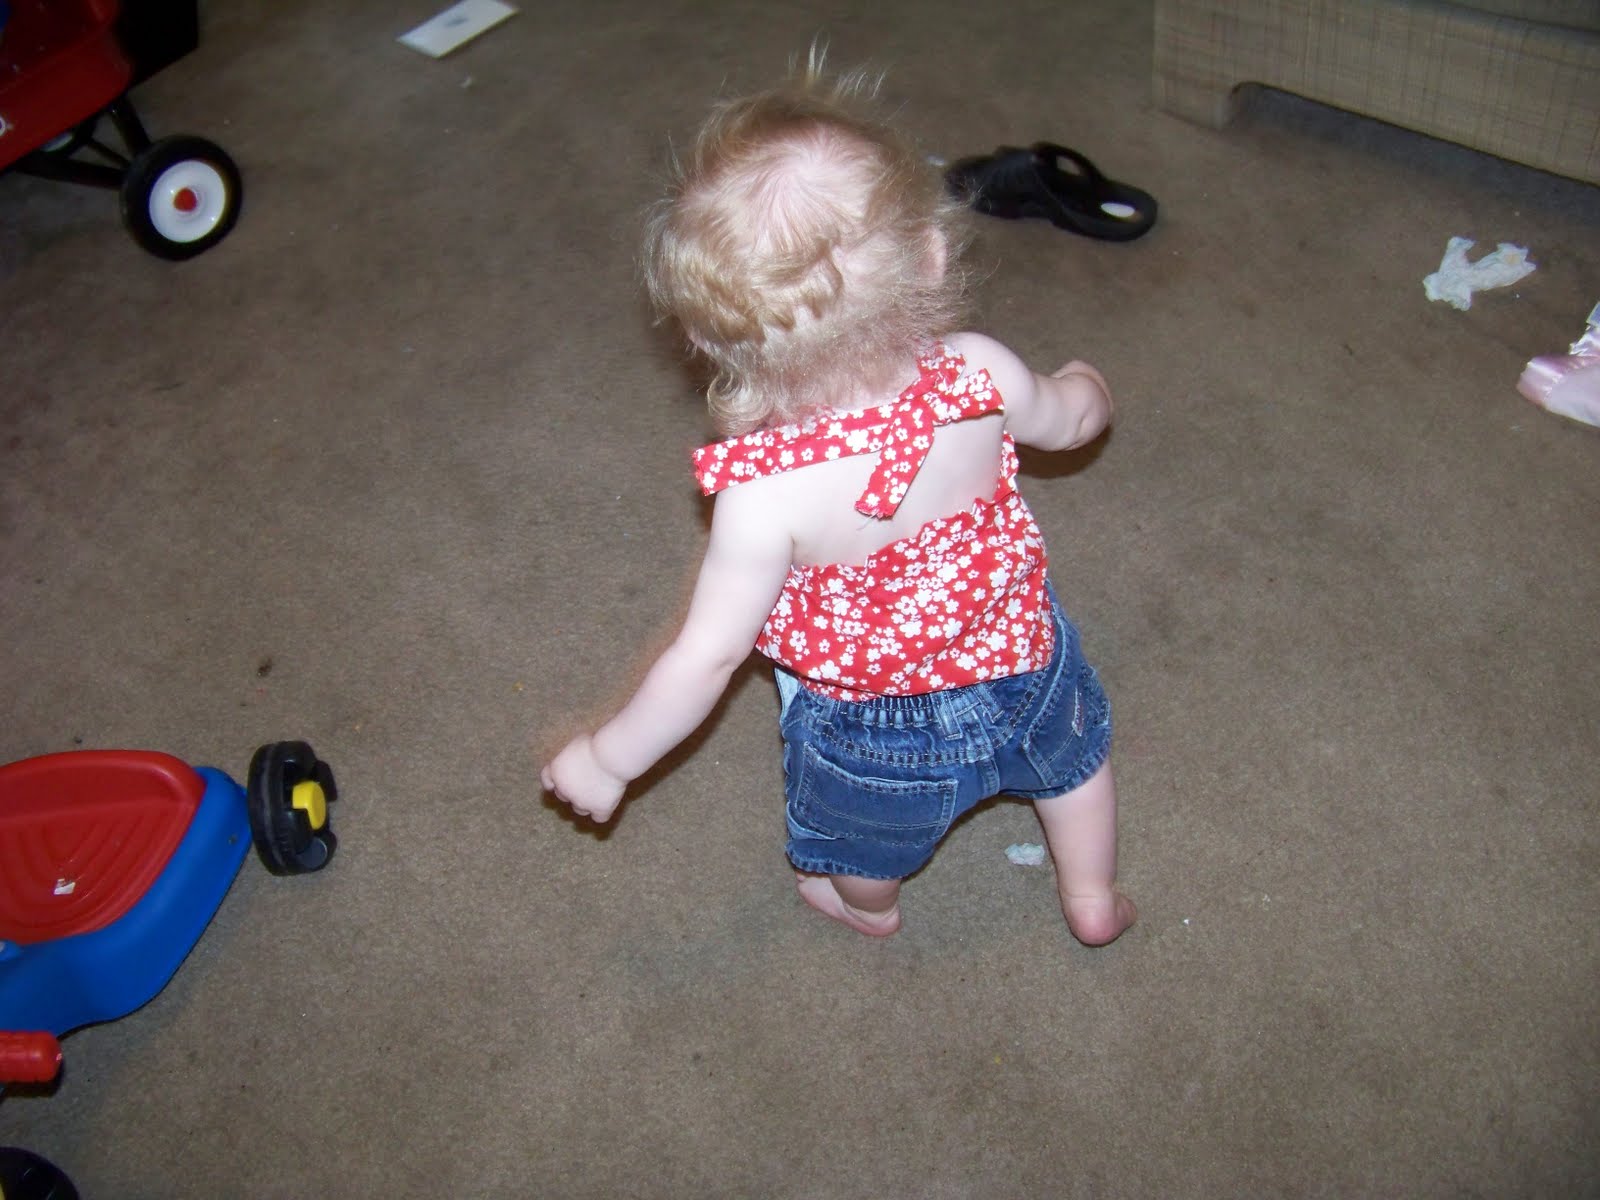
I followed a pattern tonight. I cut it out, traced it, snipped and sewed and Chloe has a pair of pale pink shorts made from a maternity top that I never liked. And I have renewed faith that because I want to learn I can and will.
Thanks to Julie Bird for the shorts pattern.
I believe we have an almost unlimited capacity for learning. Our only bounds are our desire to learn and our fear of the subject.
I've taught myself or sought to learn many a thing over the years. To crochet, to cook, to draw, paint, decorate cakes, even the ever elusive knitting. (Which I discovered after all this time that I really didn't enjoy doing it) I've taught myself how to use a computer and even in some instances how to fix my computer (and when I should get someone else to.)
I always want to know more and share more of what I know. So when Chloe was born and felt the urge to make her clothes, the feeling of "I can't sew! How'm I supposed to make her beautiful things?" was alien. Sure there are things I can't do, mostly because I don't really want to. (See MMA sports) Usually if I want to do something I just stubborn my way along until I fifgure it out.
And I did that...sorta. I'd try any tutorial on the internet that sounded interesting and run with it. Make up my own ideas? Absolutely. Buy a pattern and cut it out? Never...
Tonight I realised my major phobia with sewing started with a teacher. An awful teacher who always told me what I did wrong but never how to fix it. Who couldn't see past her prejudices to fairly and honestly do her job and left me to flounder. A teacher who failed me for being unable to complete a pair of elastic waist shorts.

I followed a pattern tonight. I cut it out, traced it, snipped and sewed and Chloe has a pair of pale pink shorts made from a maternity top that I never liked. And I have renewed faith that because I want to learn I can and will.
Thanks to Julie Bird for the shorts pattern.
posted by Kristi. W. at 8:02 PM
1 comments
![]()


.jpg)